1 min read

10 Hacks for Veterinary Radiographic Positioning

10 Hacks for Veterinary Radiographic Positioning
Help Improve Your Technique and Obtain Optimal Radiographic Images

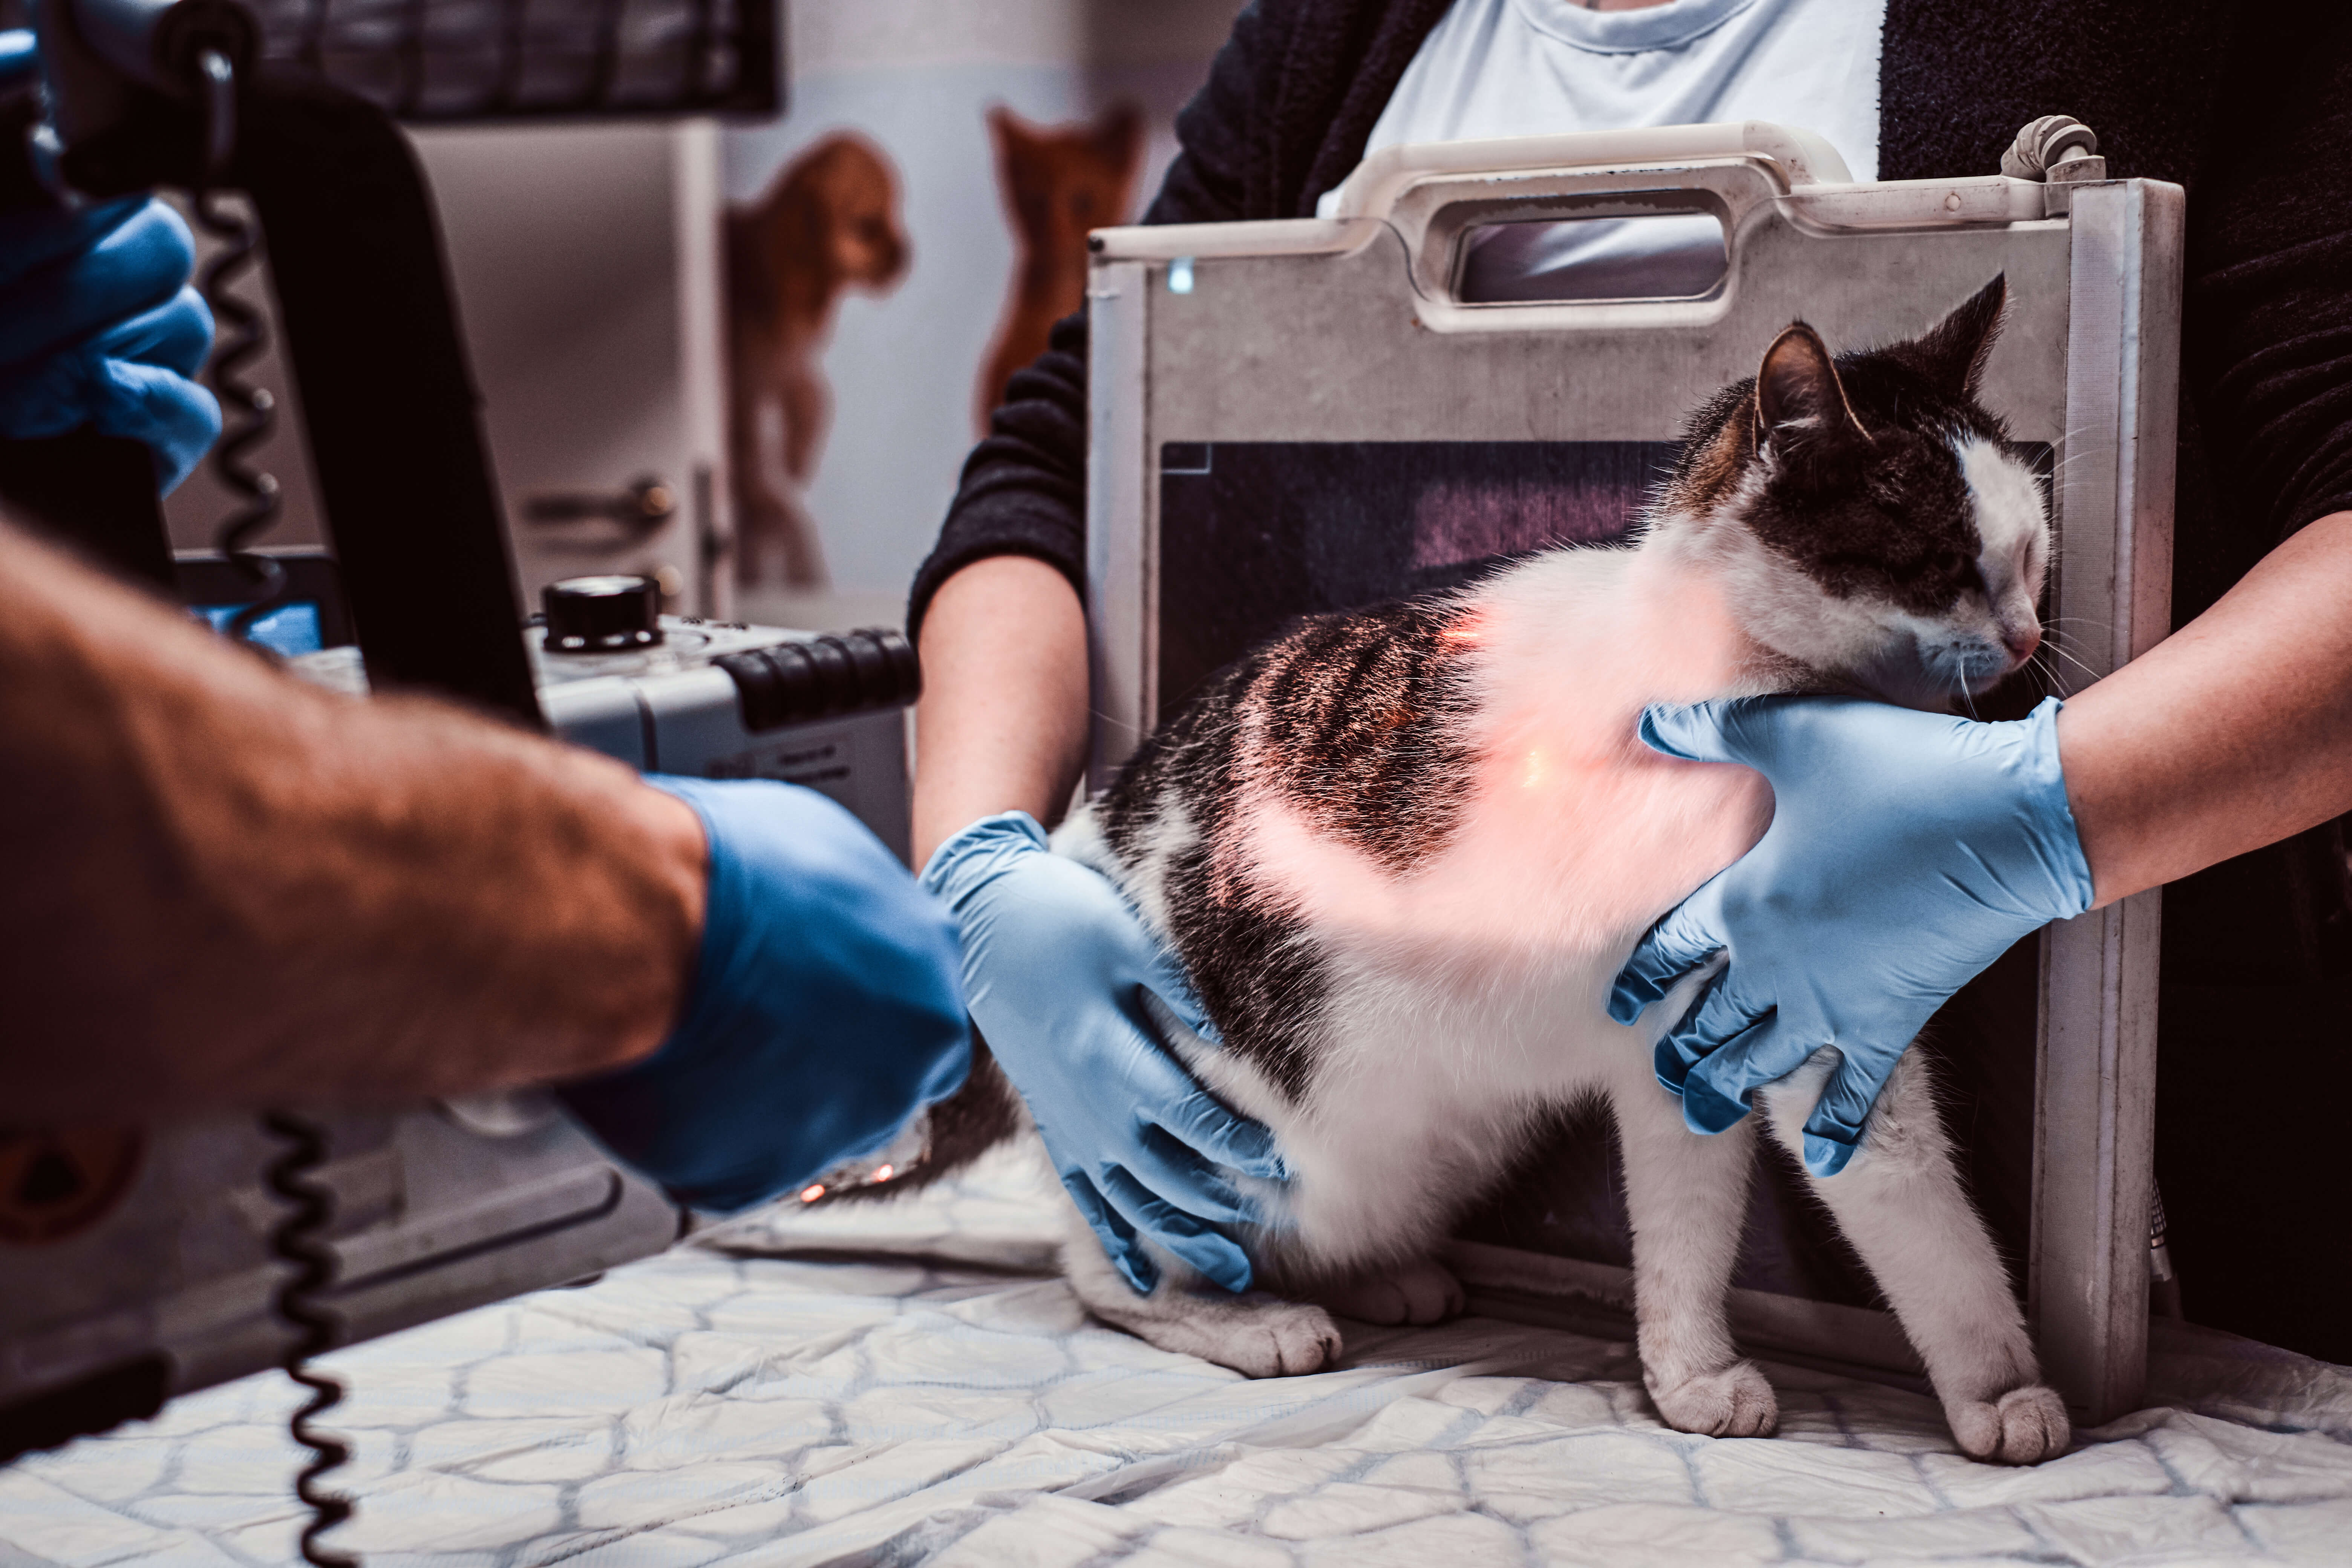
Perfecting the art of veterinary radiographic positioning is crucial for obtaining clear, precise images essential for accurate diagnoses. Enhancing your technique with effective positioning hacks can significantly elevate the quality of radiographs in veterinary practice. From utilizing positioning aids to ensuring optimal alignment and considering patient comfort, these ten hacks offer valuable insights to improve your radiographic skills.

Let's delve into these expert strategies that will help you master the nuances of positioning, ensuring clearer insights and more accurate diagnoses in veterinary radiography.

veterinarians-make-x-ray-sick-cat-on-a-table-in-a-2023-11-27-05-21-36-utc

  1. Use positioning aids:
    Employ sandbags, foam wedges, or positioning devices to stabilize and support the patient during radiography. This helps maintain the desired positioning and reduces the risk of motion artifacts.
  2. Avoid superimposition: 
    Position the patient in a way that minimizes superimposition of anatomical structures. Overlapping structures can obscure important details and make interpretation difficult.
  3. Extend limbs properly:
    When positioning limbs, fully extend them to provide a clear view of the joints and associated structures. This helps visualize fractures, joint abnormalities, and foreign bodies accurately.
  4. Collimate to the area of interest:
    Proper collimation restricts the X-ray beam to the specific area of interest, reducing scatter radiation and improving image quality. Avoid excessive collimation that may crop out relevant structures.
  5. Apply oblique angles:
    When imaging certain body parts, such as long bones or joints, oblique angles can help provide additional information or better visualization of specific structures. Experiment with slight rotations to achieve the desired obliquity.
  6. Consider patient comfort: 
    Patient comfort is essential for achieving proper positioning. Minimize stress and discomfort by using gentle handling techniques, padding hard surfaces, or providing sedation if necessary.
  7. Utilize sedation or anesthesia: 
    In some cases, sedation or anesthesia may be required to achieve optimal positioning, especially for uncooperative or anxious patients. Consult with the veterinarian to ensure patient safety and well-being.
  8. Double-check alignment: 
    Before taking the radiograph, ensure that the X-ray beam is centered on the desired area and aligned parallel to the anatomical structure of interest. Misalignment can result in distorted or misinterpreted images.
  9. Employ manual restraint or positioning aids: 
    For patients that require restraint during radiography, utilize manual restraint techniques or positioning aids to prevent movement artifacts. Collaborate with an assistant to ensure proper immobilization.
  10. Learn from experienced professionals:
    Seek mentorship or observe experienced veterinary radiographers to learn proper positioning techniques. Shadowing experienced professionals can provide invaluable insights and improve your own skills.

Remember, practice and experience play a significant role in mastering radiographic positioning. Continuously evaluate your technique, seek feedback from colleagues, and embrace ongoing learning opportunities to refine your skills and achieve consistently high-quality radiographic images.